

First off, I learned that while there is a lot you can't eat on this diet, there is also a whole world of food that you never thought about eating. Google "Low carb recipes/snacks/desserts/sweets/etc." and a plethora of results will appear. You can substitute these for the foods you shouldn't be eating.
- Breakfast: Instead of pop-tarts, cereal, or toast, my family was eating eggs. We had them scrambled, fried, and poached. My favorite way was actually fried, with lettuce, shredded cheese, and salsa. I also ate berries with cream and walnuts, which was super good. The idea is to eat lots of fruits and vegetables with your meal, and use those carbs to replace the ones from bread and crackers and stuff.
- Lunch: So, no PB&J sandwich, but a salad is always good too. Either vegetable or fruit salad. If you're looking to add meat, chicken is a good option. You could also have a tuna or egg salad as well.
- Snacks: Chips are definitely off the menu for the low carb diet, but here's the good news: Pepperoni chips. Need I say more?
- Dinner: Chicken and fish are probably your best bet for avoiding carbs during dinner (since beef and pork usually need buns or bread to go with). You could also have soup, or a fancy salad. Really, run wild with ideas!
- Dessert: Go, do your own research on google.
- Eating out: Almost every restaurant offers salads. I went out to eat with my best friend, and was so disappointed to be eating a chicken salad at a Mexican restaurant, instead of tacos. But, it was actually really good! I might even order that salad again when I'm not on the diet. Simply put, I got a nice surprise that got me out of feeling sorry for myself.
The low carb diet isn't always fun. I was hungry all the time at first, but some of that feeling was just my body wanting what it usually had. I craved everything carb-y at the beginning. But, your body will start to crave whatever you feed it. So, don't give up. I would definitely encourage you to try the diet, just to see what changes your body will start making. I have definitely been sleeping better with this diet, and should I try it for longer, I will probably start seeing a lot more changes in energy, focus, and memory. For more information on low carb diets and their benefits, go to a library or something. Now, on to the recipe!

Don't try to hide your delight that your childhood favorite just make a comeback. Now, you don't even have to worry about the strings in the celery since it's in bite sized pieces. Maybe they should just serve these at dinner parties for appetizers, they look so nice. It was the perfect snack for me on my low carb diet, and will be for you, any time. Try to control yourself.
---------------------------------------------------------------------
Makes a bunch of Log Bites
You will need:
- Peanut/Sunfower/Cashew/Soy Butter
- 1 stalk of celery
- Raisins
----------------------------------------------------------------------

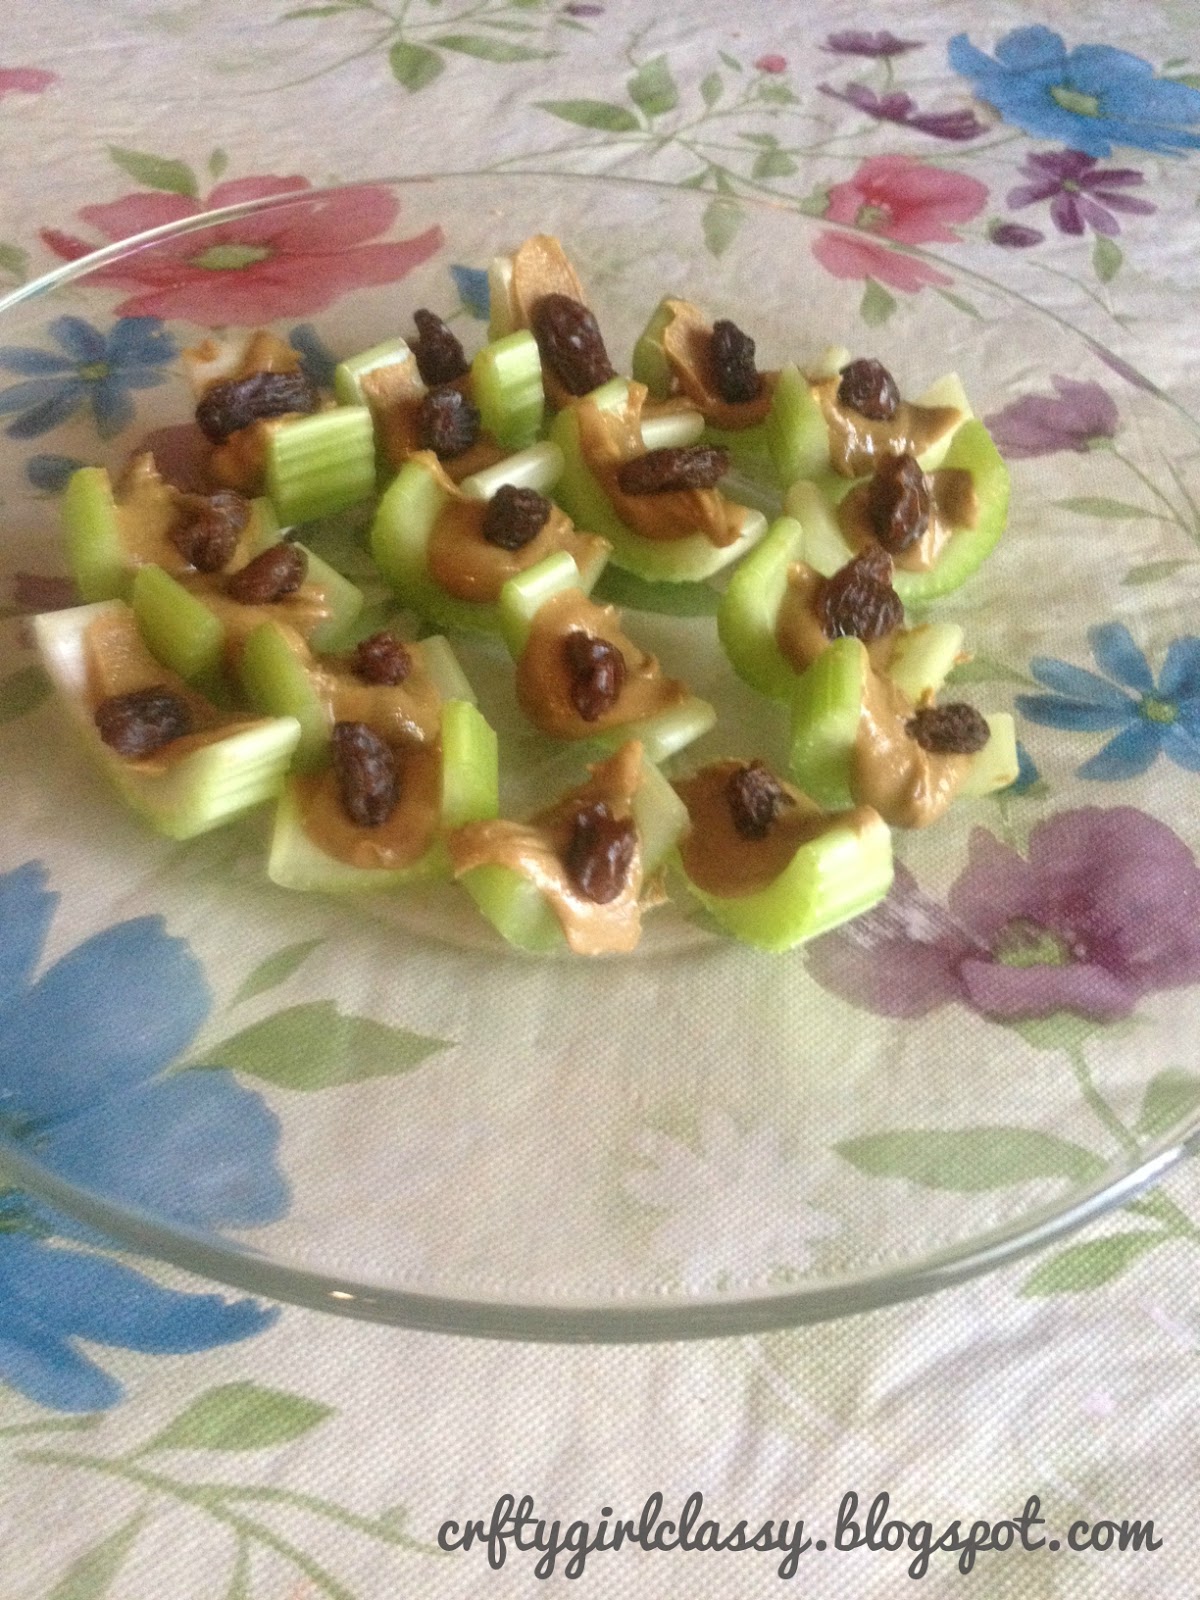
Mini Ants-on-a-Log
Don't try to hide your delight that your childhood favorite just make a comeback. Now, you don't even have to worry about the strings in the celery since it's in bite sized pieces. Maybe they should just serve these at dinner parties for appetizers, they look so nice. It was the perfect snack for me on my low carb diet, and will be for you, any time. Try to control yourself.
---------------------------------------------------------------------
Makes a bunch of Log Bites
You will need:
- Peanut/Sunfower/Cashew/Soy Butter
- 1 stalk of celery
- Raisins
----------------------------------------------------------------------
- Rinse off your celery, chop off the leafy part, as well as the other end. Slice celery into "coins" about 1/2 an inch thick, or slightly thicker.
- Spread a dollop of your nut butter on each piece of celery.
- Put a raisin on each piece.
- Eat.
- Repeat.

See you soon!
Christina


